Repairing Loose Chair Joints
A chair that rocks when you sit down is rarely broken in the way it feels. In most solid-wood chairs the wood is fine; it is the joint that has given up. Understanding why the joint loosened tells you how to fix it so it does not happen again next season.
Why joints work loose
Two things usually combine. First, the glue ages. Many older chairs were assembled with animal hide glue, which is reversible and slowly weakens with heat and moisture cycles. Second, the wood moves: as humidity rises and falls, parts swell and shrink slightly across the grain, working the joint a little looser each year. Add the daily stress of someone leaning back, and the bond eventually fails.
Diagnose before you pull anything apart
Sit the chair on a flat floor and gently rock it to find which joints flex. Mark the loose ones with low-tack tape. A joint that only squeaks is different from one you can wiggle by hand; the loose one needs re-gluing, while a tight squeak may just need a wax or a thin wedge later.
Bench note
Resist the temptation to squirt glue into a loose joint without taking it apart. Forcing new adhesive over old, contaminated glue almost never holds, and it makes a proper repair harder later.
Taking the joint apart
Most dining and kitchen chairs use round tenons (the rungs and legs) or mortise-and-tenon joints (the back). Work in this order:
- Photograph the chair from several angles so you can reassemble it the same way.
- Label each part with tape and a pencil so left and right do not get swapped.
- Ease loose parts out by hand or with gentle, even pressure. If a joint resists, stop; it may still be sound and is better left alone.
Cleaning the old glue
Fresh glue bonds to wood, not to old glue. Scrape and lightly sand the dried adhesive off both the tenon and the inside of the socket until you reach clean wood, taking care not to remove so much that the fit becomes sloppy. A hide-glue joint can often be softened with warm water, which suits its reversible nature.
Re-gluing and clamping
Aim for a snug fit before any glue goes on. A joint that is now loose because wood shrank can be built up slightly so the new bond has something to grip.
| Situation | Common approach |
|---|---|
| Joint still snug | Clean wood, apply wood glue, assemble, clamp. |
| Joint slightly loose | Wrap the tenon in a thin layer of fresh wood shaving or use a swelling technique before gluing. |
| Original hide glue | Reversible hide glue can be used again to keep the repair consistent and future-friendly. |
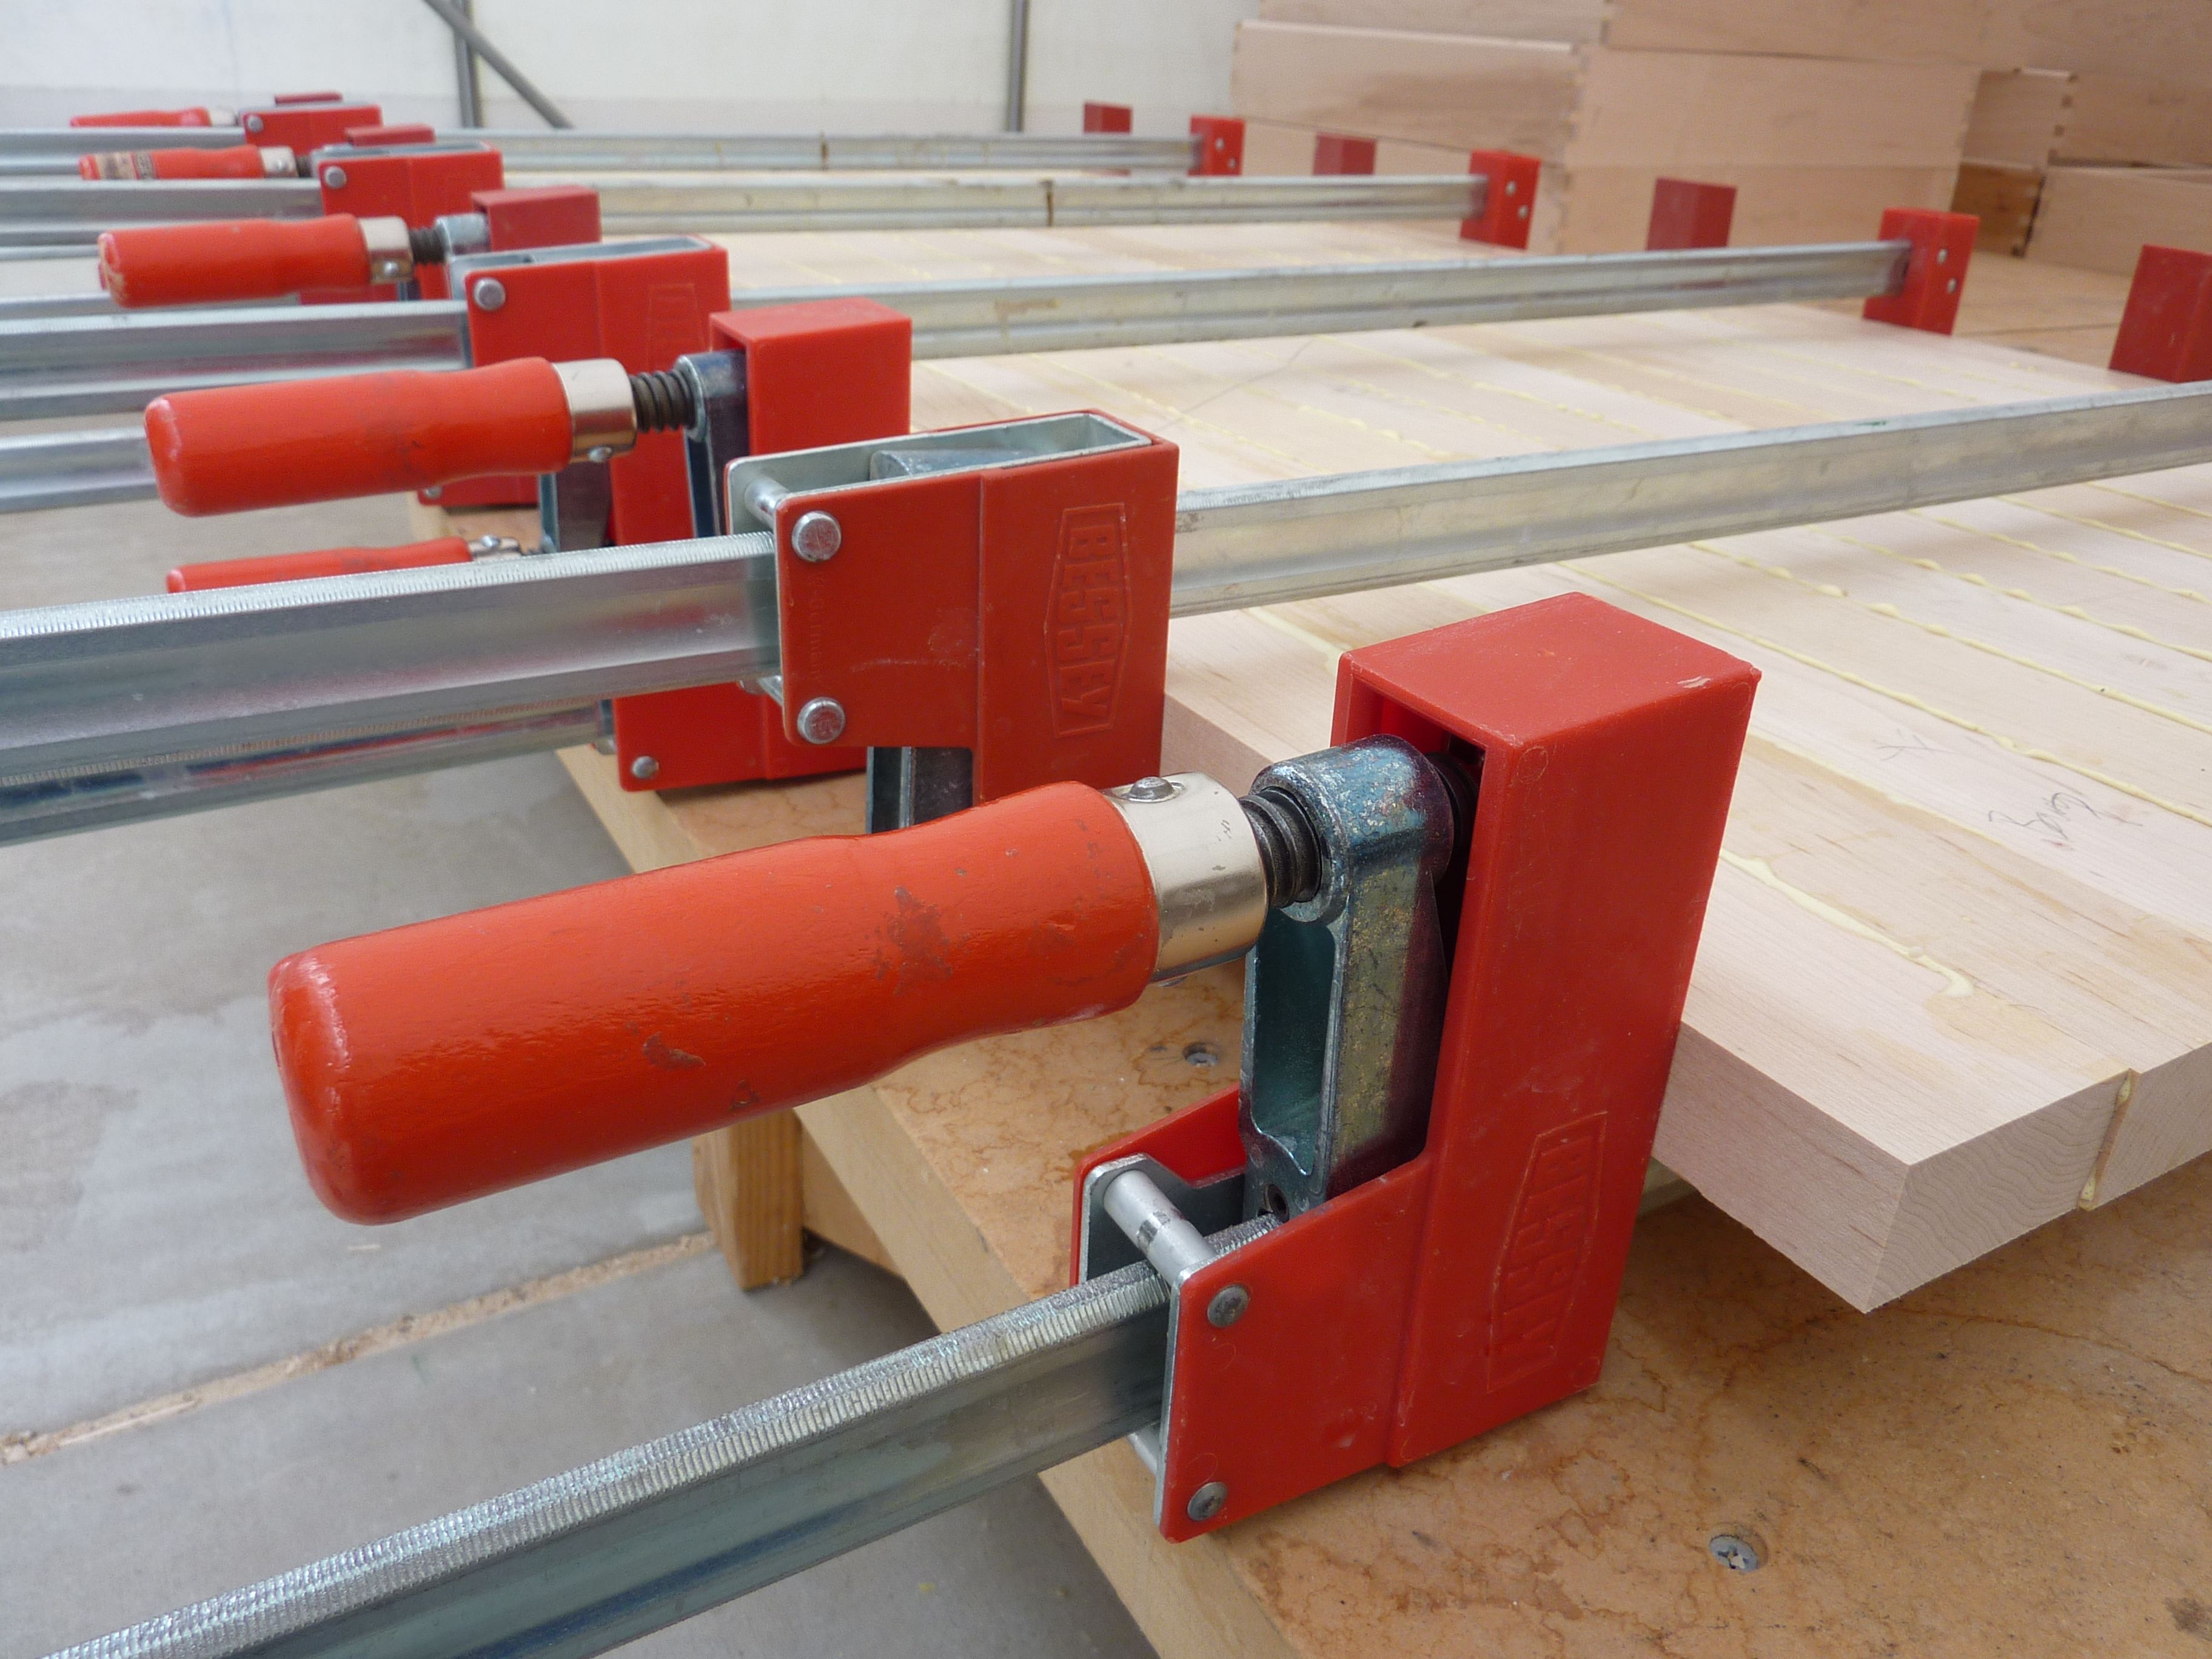
Apply glue to both surfaces, assemble in the order shown in your photos, and bring the joints home with clamps. Use cauls or scrap pads so the clamp jaws do not bruise the wood. Check that the chair sits flat and square on a level surface before the glue sets, then leave it clamped for the full cure time on the glue's label.
After the repair
Once cured, wipe away any squeeze-out, and only then touch up the finish if needed. A re-glued chair should feel solid with no movement when you press on the seat corners.
Further reading
For the care of antique and heritage pieces, the Canadian Conservation Institute publishes guidance on wooden objects worth reviewing before working on anything of value.